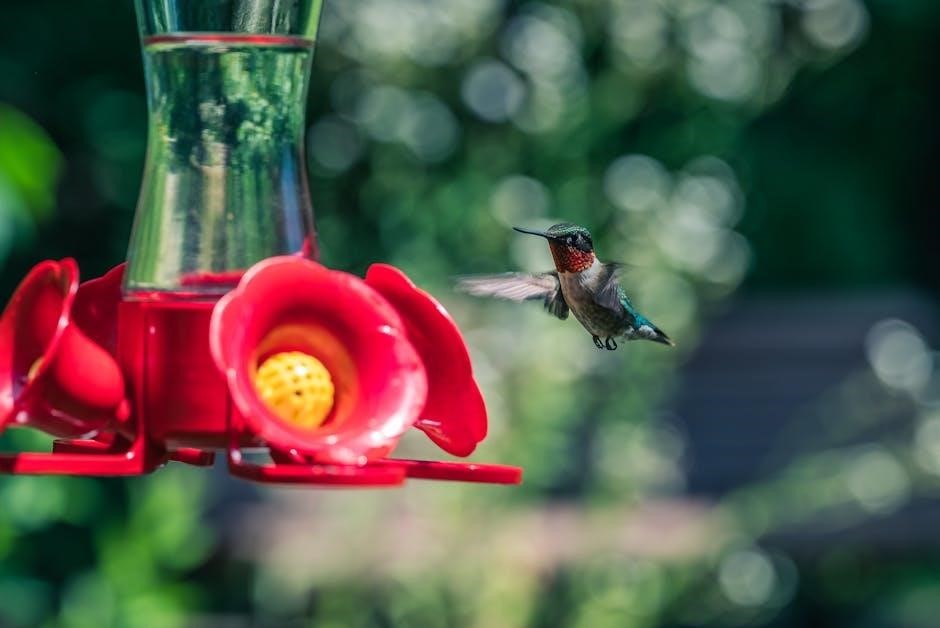
Smart bird feeders combine innovative technology with traditional bird watching, offering real-time monitoring, photo/video capture, and AI-powered bird identification through connected cameras and apps.
Overview of Smart Bird Feeders
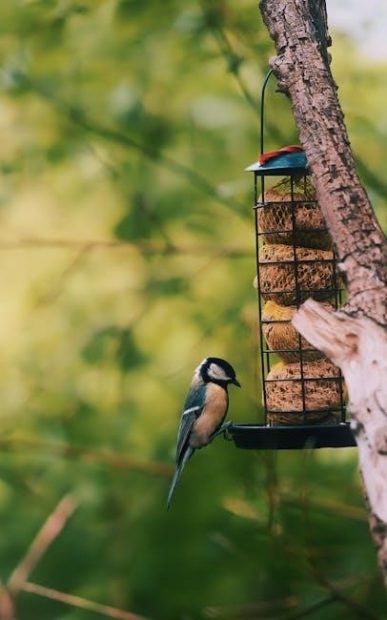
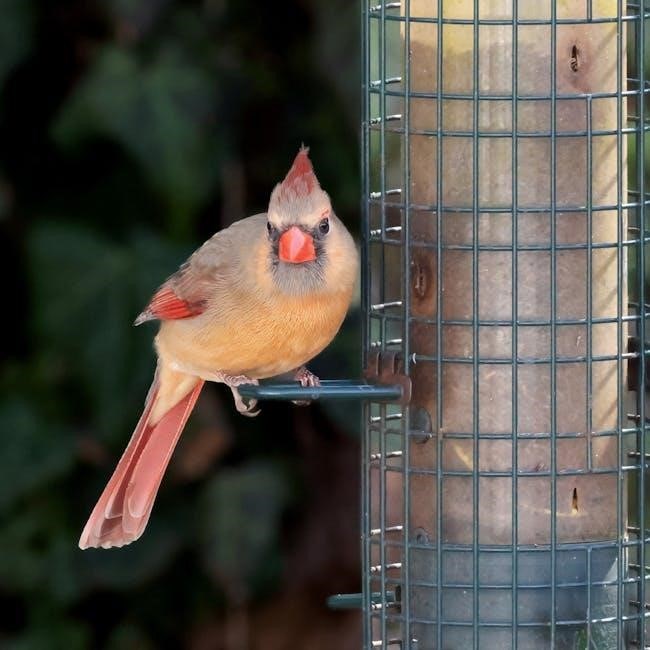
Smart bird feeders are innovative devices that combine traditional bird-feeding systems with modern technology, offering features like real-time monitoring, photo and video capture, and AI-powered bird identification. These feeders often include built-in cameras, Wi-Fi connectivity, and mobile app integration, allowing users to observe and interact with birds remotely. They also provide customizable settings, such as feeding schedules and portion control, ensuring efficient seed distribution. Many models include weather-resistant designs and solar panel options for eco-friendly operation. With features like motion detection and notifications, smart bird feeders enhance the bird-watching experience while providing valuable insights into bird behavior and species identification. They are designed to be user-friendly, with step-by-step setup guides and intuitive app interfaces, making them accessible to both beginners and experienced bird enthusiasts.
Importance of Smart Bird Feeders for Bird Watching
Smart bird feeders have revolutionized bird watching by providing unparalleled opportunities for observation, documentation, and engagement. With built-in cameras and real-time monitoring, enthusiasts can capture high-quality photos and videos of birds in their natural habitat. These devices often feature AI-powered bird identification, helping users learn about species they may not recognize. Additionally, smart feeders enable remote monitoring through mobile apps, allowing bird watchers to stay connected to wildlife even when they’re not physically present. Features like motion detection and notifications alert users to bird activity, ensuring they never miss a moment. For researchers and educators, smart feeders offer valuable tools for studying bird behavior and sharing knowledge with others. They also promote conservation by encouraging a deeper appreciation for birds and their ecosystems, making bird watching more accessible and rewarding for everyone.
Unboxing and Preparing Your Smart Bird Feeder
Unboxing your smart bird feeder reveals a sleek, innovative device designed to enhance bird watching. Carefully unpack and inspect all components, ensuring everything is included and undamaged. Before assembly, charge the feeder and camera according to the manual, and insert the MicroSD card into the camera slot. Familiarize yourself with the instructions to ensure a smooth setup process. Proper preparation is key to maximizing your bird feeder’s performance and connectivity;
Components Included in the Smart Bird Feeder Package
Your smart bird feeder package typically includes the main feeder unit, a high-definition camera with a built-in MicroSD card slot, an adjustable mounting bracket, and a solar panel for power. Additionally, you’ll find an antenna for connectivity, a drilling template for installation, and various screws and straps for secure setup. The package may also contain a quick start guide and instructions for app installation. Some models include a water jar or honey fork for added functionality. Ensure all components are accounted for before starting the assembly process to avoid delays. Proper organization and preparation of these parts will streamline the installation and ensure optimal performance of your smart bird feeder.
Preparing Tools and Materials for Installation
To ensure a smooth setup, gather necessary tools and materials. You’ll need a drill and drill bits for mounting, a screwdriver for assembling components, and an Allen wrench for adjusting parts. A level will help ensure the feeder is straight, while a measuring tape can assist in positioning. Include a MicroSD card for camera storage, a power source (battery or solar panel), and the provided mounting bracket. Additional materials like screws, straps, and adhesive may be required for secure installation. Place all items in an accessible area to streamline the process. Familiarize yourself with the included instructions and organize components to avoid missing any parts. Proper preparation ensures a hassle-free and efficient installation of your smart bird feeder.
Installation of the Smart Bird Feeder
Mount the feeder using the provided drilling template and screws, ensuring stability and proper alignment. Use a level for accuracy and position it for optimal bird viewing.
Step-by-Step Physical Setup of the Feeder
Begin by unpacking and organizing all components, including the feeder, camera, mounting hardware, and tools. Attach the base to the feeder container using the provided screws; Next, insert the microSD card into the camera slot, ensuring it is securely fitted for storage of photos and videos. Align the antenna with the designated port and twist until tightened to ensure proper connectivity. Assemble the feeding tray and attach it to the main unit, making sure all clips are securely locked. Finally, mount the feeder in a suitable location, using the drilling template to mark hole positions and the provided screws for a stable installation. Follow the manufacturer’s guidelines for each step to ensure a seamless setup process.
Choosing the Right Location for Your Smart Bird Feeder
Selecting the ideal spot for your smart bird feeder is crucial for optimal performance and bird attraction. Place the feeder 10-12 feet away from trees, bushes, or other structures to ensure birds feel secure while feeding. Choose a location with partial shade to protect the seed from direct sunlight and prevent spoilage. Ensure the feeder is within your Wi-Fi range for uninterrupted connectivity and camera functionality. Position the camera at a slight angle to capture clear photos and videos, avoiding direct sunlight that may cause glare. Mount the feeder on a sturdy tree, fence, or post to prevent it from tipping over. This setup ensures a stable and inviting environment for birds while providing you with excellent monitoring capabilities.
Mounting the Feeder on a Tree, Fence, or Post
Mounting your smart bird feeder securely is essential for stability and bird safety. Use the provided drilling template to mark hole positions on your wall, fence, or post. Drill four holes and insert the bracket connector into the bottom of the bracket, then screw it in place. For trees, attach the feeder using adjustable straps or brackets to avoid damaging the bark. Ensure the feeder is level using a spirit level and tighten all screws firmly. Mounting at least 3-4 feet off the ground can help deter predators. A sturdy installation ensures your feeder remains stable in wind and provides a reliable feeding spot for birds. Proper mounting also ensures optimal camera angles for capturing bird activity. Always follow the manufacturer’s guidelines for secure and safe installation.
Camera Setup and Configuration
Insert the MicroSD card into the camera slot before assembling the feeder; Position the camera for clear bird views and align the antenna for stable connectivity.
Inserting the MicroSD Card into the Camera
To ensure optimal performance, insert a MicroSD card (up to 128GB) into the camera’s built-in slot before assembling the feeder. Rotate the camera downward to access the slot, located behind a silicone plug. Open the plug carefully and insert the card, ensuring it is properly aligned and seated. Close the plug securely to protect the card. The MicroSD card is essential for storing photos and videos captured by the camera. Always use a high-quality card compatible with your device. After inserting, test the camera to confirm it is recording data correctly. Proper installation ensures seamless functionality and reliable storage of bird activity.
Positioning the Camera for Optimal Bird Viewing
Position the camera at an optimal angle to capture clear images and videos of visiting birds. For best results, place the lens at a slight downward angle, ensuring it faces the feeding area directly. This setup helps in capturing detailed shots of birds as they feed. Adjust the camera’s height so it is level with the feeder’s tray or perches, allowing for comprehensive coverage. Ensure the camera is not obstructed by branches or other objects to maximize the field of view. Proper positioning enhances image quality and ensures that bird activity is recorded accurately. Regularly check and adjust the camera’s alignment to maintain optimal viewing and functionality. This ensures a satisfying bird-watching experience through your smartphone or app.
Aligning the Antenna for Proper Connectivity
To ensure reliable connectivity, align the antenna correctly on your smart bird feeder. Locate the antenna port, typically found on the back or base of the feeder. Insert the antenna into the designated slot and twist it firmly to secure it. Ensure the antenna is straight and not bent, as this can disrupt the signal. Position the feeder in an area with a strong Wi-Fi signal, ideally within range of your router. Avoid placing the antenna near metal objects or obstructions, as this can weaken connectivity. After installation, check the app to confirm the connection is stable. If connectivity issues arise, adjust the antenna’s position or move the feeder slightly to improve signal strength. Proper antenna alignment ensures seamless communication between the feeder and your device, enabling real-time monitoring and notifications. Regularly inspect the antenna to maintain optimal performance and connectivity.
App Pairing and Connectivity
Download the dedicated app, connect your smart bird feeder to Wi-Fi, and pair the camera module with your smartphone for seamless monitoring and real-time notifications.
Downloading and Installing the Smart Bird Feeder App
To begin, visit your smartphone’s app store (Google Play for Android or Apple App Store for iOS) and search for the official smart bird feeder app, often named after the product or “Bird Feeder App.” Ensure you select the correct app corresponding to your feeder model to avoid connectivity issues. Once found, tap “Download” or “Install” to start the process. After installation, open the app and follow the prompts to create an account or log in if you already have one. Some apps may require scanning a QR code provided in the manual or on the feeder itself to pair the device. This step ensures secure and proper pairing. After setup, explore the app’s features, such as live viewing, notifications, and settings customization. Regularly check for firmware updates within the app to maintain optimal performance. The app is your gateway to a seamless bird-watching experience, so familiarize yourself with its tools and settings. If issues arise, refer to the troubleshooting section for assistance.
Connecting the Feeder to Your Wi-Fi Network
To connect your smart bird feeder to your Wi-Fi network, open the app and select the “Add Device” or “Connect Feeder” option. Follow the in-app instructions to scan the QR code located on the feeder or in the manual. This step links the feeder to your account. Next, select your home Wi-Fi network from the list of available options and enter your password. Ensure the antenna is fully extended and aligned for optimal signal strength. The feeder will attempt to connect; wait for a confirmation message or indicator light. If the connection fails, restart the feeder and retry. A stable Wi-Fi connection is essential for real-time monitoring, notifications, and firmware updates. Once connected, your feeder is ready to stream live footage and interact with your smartphone seamlessly.
Pairing the Camera Module with Your Smartphone
Pairing the camera module with your smartphone is a straightforward process. Open the smart bird feeder app and navigate to the “Pairing” section. Select “Add Camera” and follow the prompts to enable Bluetooth or Wi-Fi pairing. Ensure your smartphone’s Bluetooth or Wi-Fi is turned on. The app will search for nearby devices and display the camera module once detected. Confirm the pairing request to establish a connection. If prompted, scan the QR code on the camera or enter a pairing code. Once paired, the camera will sync with your smartphone, allowing live streaming, photo capture, and AI bird detection. For troubleshooting, restart both devices or reset the camera to its factory settings. Proper pairing ensures seamless interaction and optimal functionality of your smart bird feeder system.
Feeding Configuration and Settings
Set feeding schedules, portion sizes, and customize notifications to monitor bird activity efficiently. Adjust settings via the app to optimize seed distribution and bird-watching experiences.
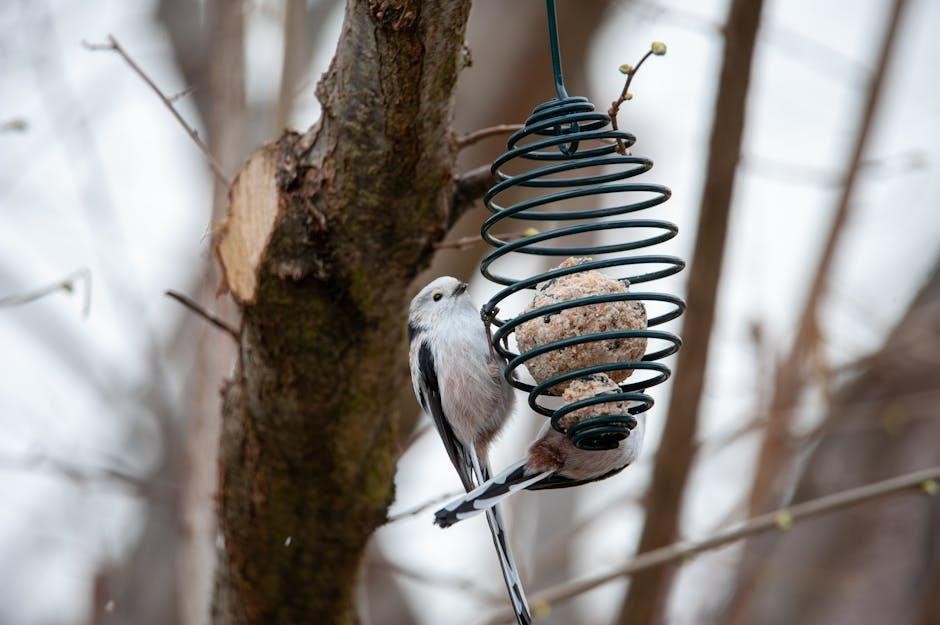
Adding Bird Seed to the Feeder
To add bird seed, first ensure the feeder is securely mounted and the lid is accessible. Open the feeder by releasing the locking mechanism or unscrewing the top, depending on the model. Carefully pour the seed into the container, filling it to the recommended level to avoid overflow. Use a funnel if provided to minimize spillage. Once filled, reattach the lid tightly to protect the seed from moisture and pests. For optimal performance, use high-quality seed suitable for the bird species you wish to attract. Regularly check seed levels via the app or visual inspection and replenish as needed to keep the feeder functional and attractive to birds. Proper seed management ensures consistent bird visits and enjoyable wildlife viewing.
Setting Up Feeding Schedules and Portion Control
Setting up feeding schedules and portion control ensures efficient seed distribution and consistent bird visits. Open the smart bird feeder app and navigate to the feeding settings menu. Choose from pre-set schedules or create custom feeding times based on bird activity patterns. Adjust portion sizes using sliders or numerical inputs to dispense the desired amount of seed. For precise control, enable the “Feeding Frenzy” mode during peak activity or “Power Saver” for lower usage. Use the app to monitor feeding history and adjust schedules as needed. Some models also offer AI-powered optimization, automatically adapting portion sizes based on bird species and frequency. Regularly review and update settings to maintain optimal feeding performance and attract a variety of birds to your yard. This feature ensures seed longevity and enhances your bird-watching experience.
Customizing Notifications for Bird Activity
Customizing notifications for bird activity allows you to stay informed about visits to your smart bird feeder. Open the app and navigate to the notification settings menu. Enable alerts for specific bird species detected by the AI-powered camera or set general notifications for any bird activity. Adjust sensitivity levels to avoid unnecessary alerts from small movements. You can also toggle notifications for low seed levels or camera motion detection. For a personalized experience, set quiet hours or filter out common species. Receive real-time updates on your smartphone or tablet, ensuring you never miss a special moment. This feature enhances your bird-watching experience by keeping you connected to feeder activity without overwhelming you with unnecessary alerts.
Maintenance and Care
Regularly clean the feeder to prevent mold and bacteria growth, ensuring bird health. Use mild detergents and rinse thoroughly. Check and clean the camera lens for clear footage.
Cleaning the Feeder and Camera Regularly
Regular cleaning is essential to maintain bird health and optimal feeder performance. Use mild detergents and water to scrub away dirt and mold from the feeder surfaces. Rinse thoroughly and allow it to dry before refilling with seed to prevent moisture buildup. For the camera, gently wipe the lens with a soft cloth to ensure clear bird images and videos. Avoid harsh chemicals that could damage the equipment or harm birds. Clean the feeder every week, or more often in humid or high-traffic areas, to keep it free from bacteria and debris. This routine will help attract more birds and ensure your smart bird feeder functions smoothly over time.
Monitoring Seed Levels and Replenishing as Needed
Regularly monitoring seed levels ensures birds remain well-fed and attracted to your feeder. Many smart bird feeders come with built-in sensors that notify you via the app when seed levels are low. Check the feeder weekly, especially during peak bird activity or harsh weather. When refilling, use high-quality bird seed suitable for the species you want to attract. Clean the feeder before adding new seed to prevent mold and bacterial growth. For optimal performance, avoid overfilling, as this can lead to spillage and waste. During colder months, consider using seed types with higher energy content to support birds. Keep extra seed stored in a dry, pest-free location to ensure freshness. Consistent replenishment will keep your feeder a reliable food source for birds year-round.
Updating Firmware and Software for Optimal Performance
Regular firmware and software updates are essential to ensure your smart bird feeder operates at its best. These updates often include bug fixes, feature enhancements, and security improvements. To update, open the app and navigate to the settings or device management section. Check for available updates and follow the on-screen instructions to download and install them. Some feeders may require manual updating, while others update automatically. Always ensure the feeder is connected to a stable Wi-Fi network during the update process. Avoid interrupting the update, as this could cause malfunctions. Enable auto-update in the app settings for convenience. By keeping your smart bird feeder’s software up-to-date, you ensure seamless performance, better connectivity, and enhanced bird-watching experiences. Regular updates also help maintain compatibility with new app features and security protocols.
Troubleshooting Common Issues
Common issues include poor connectivity, camera malfunctions, or app glitches. Check Wi-Fi stability, restart the feeder, and ensure firmware is updated. Resetting to factory settings may resolve persistent problems. Consult the user manual for detailed solutions or contact customer support for further assistance. Regular maintenance and updates help prevent many issues. Always refer to the troubleshooting guide provided with your smart bird feeder for specific instructions tailored to your model. By addressing issues promptly, you can ensure uninterrupted bird-watching enjoyment and optimal device performance. Troubleshooting steps vary by model, so it’s important to follow the manufacturer’s recommendations carefully. Keep your smart bird feeder functioning smoothly with routine checks and timely resolutions. If problems persist, reaching out to the manufacturer’s support team is often the best course of action.
Resolving Connectivity Problems with the App
To resolve connectivity issues with your smart bird feeder app, first ensure your feeder is within your Wi-Fi network range. Restart your router and feeder to refresh the connection. Check that the Wi-Fi password entered in the app is correct and match your network. If issues persist, update the app and feeder firmware to the latest version. Clearing the app cache or reinstalling the app may also resolve connectivity problems. Ensure the antenna is properly aligned and securely attached, as a loose connection can disrupt communication. If the app still fails to connect, reset the feeder to factory settings and pair it again. Refer to the user manual for specific reset instructions. If problems remain, contact customer support for further assistance. Regular updates and proper setup help maintain a stable connection for optimal performance. Always follow the manufacturer’s troubleshooting guide for the best results.
Fixing Issues with Camera Functionality
If your smart bird feeder’s camera isn’t functioning properly, start by checking the MicroSD card. Ensure it’s inserted correctly and formatted as per the instructions. If the camera isn’t recording, verify that the silicone plug is sealed tightly after inserting the card. Position the camera lens to face the feeding area for optimal bird viewing. Clean the lens regularly to avoid smudges or debris obstructing the view. Ensure the camera is powered on and connected to the app. If issues persist, restart the camera by turning it off and on. Check for firmware updates in the app and install the latest version. If the camera still doesn’t work, reset the entire system to factory settings. Refer to the user manual for detailed troubleshooting steps to resolve camera-related problems effectively. Proper care and regular updates ensure clear and uninterrupted bird monitoring.
Resetting the Smart Bird Feeder to Factory Settings
To reset your smart bird feeder to factory settings, locate the reset button, usually found on the bottom or rear of the device. Press and hold it for about 10 seconds until the status light flashes. This will restore default settings, clearing all custom configurations, including Wi-Fi networks and feeding schedules. After resetting, power cycle the feeder by turning it off and on. Re-launch the app and pair the feeder again, following the initial setup process. Note that resetting will erase all saved data, so ensure you have backups before proceeding. This step is ideal for resolving persistent connectivity or software issues. Always refer to the user manual for specific reset instructions, as procedures may vary slightly between models. Regular resets can help maintain optimal performance and resolve unforeseen technical glitches.
Smart bird feeders offer a fascinating way to enhance your bird-watching experience with real-time monitoring and control. Keep the feeder clean and place it in shaded areas to attract more birds and ensure optimal performance.
Maximizing Your Smart Bird Feeder Experience
To maximize your smart bird feeder experience, ensure it’s placed in a shaded area to prevent seed spoilage and attract more birds. Regularly clean the feeder and camera to maintain functionality and image clarity. Use high-quality birdseed suitable for local species and refill promptly to keep birds visiting. Position the camera at an optimal angle to capture clear photos and videos. Utilize the app’s features, such as scheduling feedings and enabling notifications, to stay engaged. Updating the firmware ensures you have the latest enhancements and security fixes. By following these tips, you can enjoy a seamless and rewarding interaction with your feathered visitors.
Additional Tips for Attracting More Birds
To attract more birds, place your smart bird feeder 10-12 feet away from trees or shrubs to provide birds with a sense of security. Use high-quality birdseed tailored to local species, and ensure the feeder is always well-stocked. Keep the feeder clean to prevent mold and bacteria, which can deter birds. Consider adding a water source nearby, as birds are drawn to areas with both food and water. Plant native vegetation around the feeder to create a welcoming habitat. Finally, use the app’s bird detection and AI features to learn about visiting species and adjust your setup accordingly. These tips will help create a thriving bird-friendly environment and enhance your bird-watching experience.